Talk to your Zendesk tickets with Weaviate’s Verba and dlt: A Step by Step Guide
 Anton Burnashev,
Senior Software Engineer
As businesses scale and the volume of internal knowledge grows, it becomes increasingly difficult for everyone in the company to find the right information at the right time.
With the latest advancements in large language models (LLMs) and vector databases, it's now possible to build a new class of tools that can help get insights from this data. One approach to do so is Retrieval-Augmented Generation (RAG). The idea behind RAGs is to retrieve relevant information from your database and use LLMs to generate a customised response to a question. Leveraging RAG enables the LLM to tailor its responses based on your proprietary data.

One such source of internal knowledge is help desk software. It contains a wealth of information about the company's customers and their interactions with the support team.
In this blog post, we'll guide you through the process of building a RAG application for Zendesk Support data, a popular help desk software. We’re going to use dlt, Weaviate, Verba and OpenAI.
dlt is an open-source Python library that simplifies the process of loading data from various sources. It does not requires extensive setup or maintenance and particularly useful for CRM data: highly tailored to the needs of the business and changes frequently.
Weaviate is an open-source, AI-native vector database that is redefining the foundation of AI-powered applications. With capabilities for vector, hybrid, and generative search over billions of data objects, Weaviate serves as the critical infrastructure for organizations building sophisticated AI solutions and exceptional user experiences.
Verba is an open-source chatbot powered by Weaviate. It's built on top of Weaviate's state-of-the-art Generative Search technology. Verba includes a web interface and a query engine that uses Weaviate database.
Prerequisites
- A URL and an API key of a Weaviate instance. We're using the hosted version of Weaviate to store our data. Head over to the Weaviate Cloud Services and create a new cluster. You can create a free sandbox, but keep in mind your cluster will expire and your data will be deleted after 14 days. In the "Details" of your cluster you'll find the Cluster URL and the API key.
- An OpenAI account and API key. Verba utilizes OpenAI's models to generate answers to user's questions and Weaviate uses them to vectorize text before storing it in the database. You can sign up for an account on OpenAI's website.
- A Zendesk account and API credentials.
Let’s get started
Step 1. Set up Verba
Create a new folder for your project and install Verba:
mkdir verba-dlt-zendesk
cd verba-dlt-zendesk
python -m venv venv
source venv/bin/activate
pip install goldenverbaTo configure Verba, we need to set the following environment variables:
VERBA_URL=https://your-cluster.weaviate.network # your Weaviate instance URL
VERBA_API_KEY=F8...i4WK # the API key of your Weaviate instance
OPENAI_API_KEY=sk-...R # your OpenAI API key
You can put them in a .env file in the root of your project or export them in your shell.
Let's test that Verba is installed correctly:
verba startYou should see the following output:
INFO: Uvicorn running on <http://0.0.0.0:8000> (Press CTRL+C to quit)
ℹ Setting up client
✔ Client connected to Weaviate Cluster
INFO: Started server process [50252]
INFO: Waiting for application startup.
INFO: Application startup complete.Now, open your browser and navigate to http://localhost:8000.
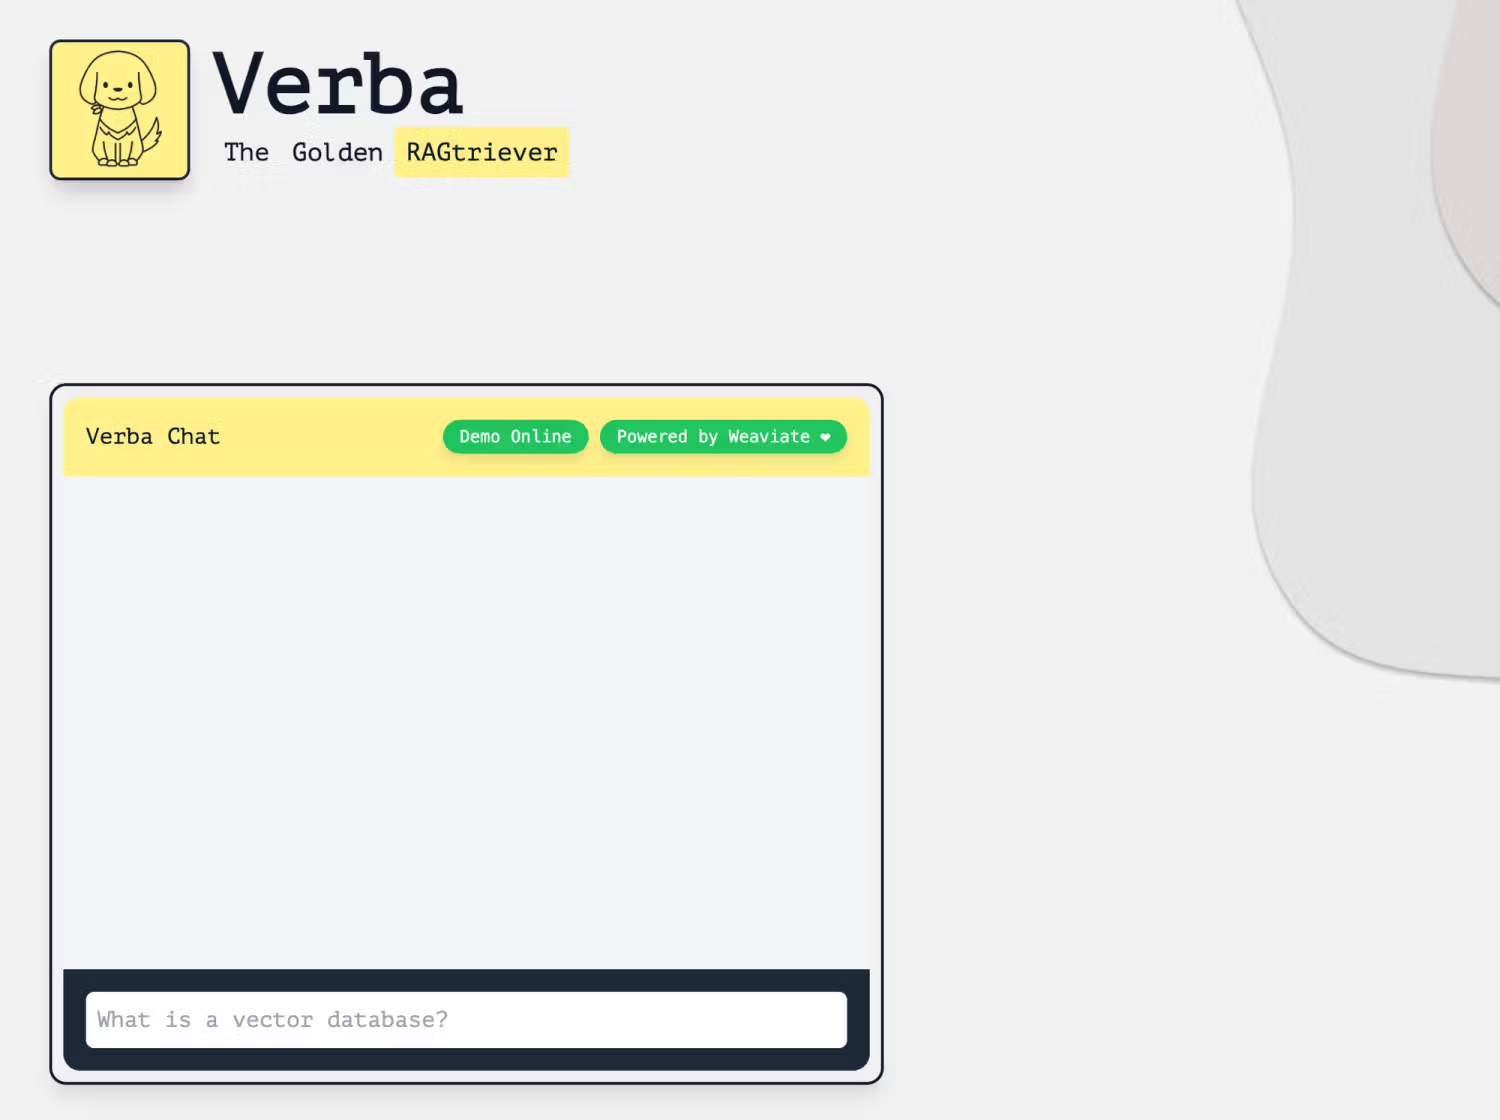
Great! Verba is up and running.
If you try to ask a question now, you'll get an error in return. That's because we haven't imported any data yet. We'll do that in the next steps.
Step 2. Install dlt with Zendesk source
We get our data from Zendesk using dlt. Let's install it along with the Weaviate extra:
pip install "dlt[weaviate]"This also installs a handy CLI tool called dlt. It will help us initialize the Zendesk verified data source—a connector to Zendesk Support API.
Let's initialize the verified source:
dlt init zendesk weaviatedlt init pulls the latest version of the connector from the verified source repository and creates a credentials file for it. The credentials file is called secrets.toml and it's located in the .dlt directory.
To make things easier, we'll use the email address and password authentication method for Zendesk API. Let's add our credentials to secrets.toml:
[sources.zendesk.credentials]
password = "your-password"
subdomain = "your-subdomain"
email = "your-email@example.com"We also need to specify the URL and the API key of our Weaviate instance. Copy the credentials for the Weaviate instance you created earlier and add them to secrets.toml:
[destination.weaviate.credentials]
url = "https://your-cluster.weaviate.network"
api_key = "F8.....i4WK"
[destination.weaviate.credentials.additional_headers]
X-OpenAI-Api-Key = "sk-....."All the components are now in place and configured. Let's set up a pipeline to import data from Zendesk.
Step 3. Set up a dlt pipeline
Open your favorite text editor and create a file called zendesk_verba.py. Add the following code to it:
import itertools
import dlt
from weaviate.util import generate_uuid5
from dlt.destinations.adapters import weaviate_adapter
from zendesk import zendesk_support
def to_verba_document(ticket):
# The document id is the ticket id.
# dlt will use this to generate a UUID for the document in Weaviate.
return {
"doc_id": ticket["id"],
"doc_name": ticket["subject"],
"doc_type": "Zendesk ticket",
"doc_link": ticket["url"],
"text": ticket["description"],
}
def to_verba_chunk(ticket):
# We link the chunk to the document by using the document (ticket) id.
return {
"chunk_id": 0,
"doc_id": ticket["id"],
"doc_name": ticket["subject"],
"doc_type": "Zendesk ticket",
"doc_uuid": generate_uuid5(ticket["id"], "Document"),
"text": ticket["description"],
}
def main():
pipeline = dlt.pipeline(
pipeline_name="zendesk_verba",
destination="weaviate",
)
# Zendesk Support has data tickets, users, groups, etc.
zendesk_source = zendesk_support(load_all=False)
# Here we get a dlt resource containing only the tickets
tickets = zendesk_source.tickets
# Split the tickets into two streams
tickets1, tickets2 = itertools.tee(tickets, 2)
@dlt.resource(primary_key="doc_id", write_disposition="merge")
def document():
# Map over the tickets and convert them to Verba documents
# primary_key is the field that will be used to generate
# a UUID for the document in Weaviate.
yield from weaviate_adapter(
map(to_verba_document, tickets1),
vectorize="text",
)
@dlt.resource(primary_key="doc_id", write_disposition="merge")
def chunk():
yield from weaviate_adapter(
map(to_verba_chunk, tickets2),
vectorize="text",
)
info = pipeline.run([document, chunk])
return info
if __name__ == "__main__":
load_info = main()
print(load_info)There's a lot going on here, so let's break it down.
First, in main() we create a dlt pipeline and add a Weaviate destination to it. We'll use it to store our data.
Next, we create a Zendesk Support source. It will fetch data from Zendesk Support API.
To match the data model of Zendesk Support to the internal data model of Verba, we need to convert Zendesk tickets to Verba documents and chunks. We do that by defining two functions: to_verba_document and to_verba_chunk. We also create two streams of tickets. We'll use them to create two dlt resources: document and chunk. These will populate the Document and Chunk classes in Verba. In both resources, we instruct dlt which fields to vectorize using the weaviate_adapter() function.
We specify primary_key and write_disposition for both resources. primary_key is the field that will be used to generate a UUID for the document in Weaviate. write_disposition tells dlt how to handle duplicate documents. In our case, we want to merge them: if a document already exists in Weaviate, we want to update it with the new data.
Finally, we run the pipeline and print the load info.
Step 4. Load data into Verba
Let's run the pipeline:
python zendesk_verba.pyYou should see the following output:
Pipeline zendesk_verba completed in 8.27 seconds
1 load package(s) were loaded to destination weaviate and into dataset None
The weaviate destination used <https://your-cluster.weaviate.network> location to store data
Load package 1695726495.383148 is LOADED and contains no failed jobs
Verba is now populated with data from Zendesk Support. However, there are a couple of classes that need to be created in Verba: Cache and Suggestion. We can do that using the Verba CLI init command. When it runs it will ask us if we want to create Verba classes. Make sure to answer "n" to the question about the Document class — we don't want to overwrite it.
Run the following command:
verba initYou should see the following output:
===================== Creating Document and Chunk class =====================
ℹ Setting up client
✔ Client connected to Weaviate Cluster
Document class already exists, do you want to overwrite it? (y/n): n
⚠ Skipped deleting Document and Chunk schema, nothing changed
ℹ Done
============================ Creating Cache class ============================
ℹ Setting up client
✔ Client connected to Weaviate Cluster
✔ 'Cache' schema created
ℹ Done
========================= Creating Suggestion class =========================
ℹ Setting up client
✔ Client connected to Weaviate Cluster
✔ 'Suggestion' schema created
ℹ DoneWe're almost there! Let's start with Verba:
verba startStep 4. Ask Verba a question
Head back to http://localhost:8000 and ask Verba a question. For example, "What are common issues our users report?".
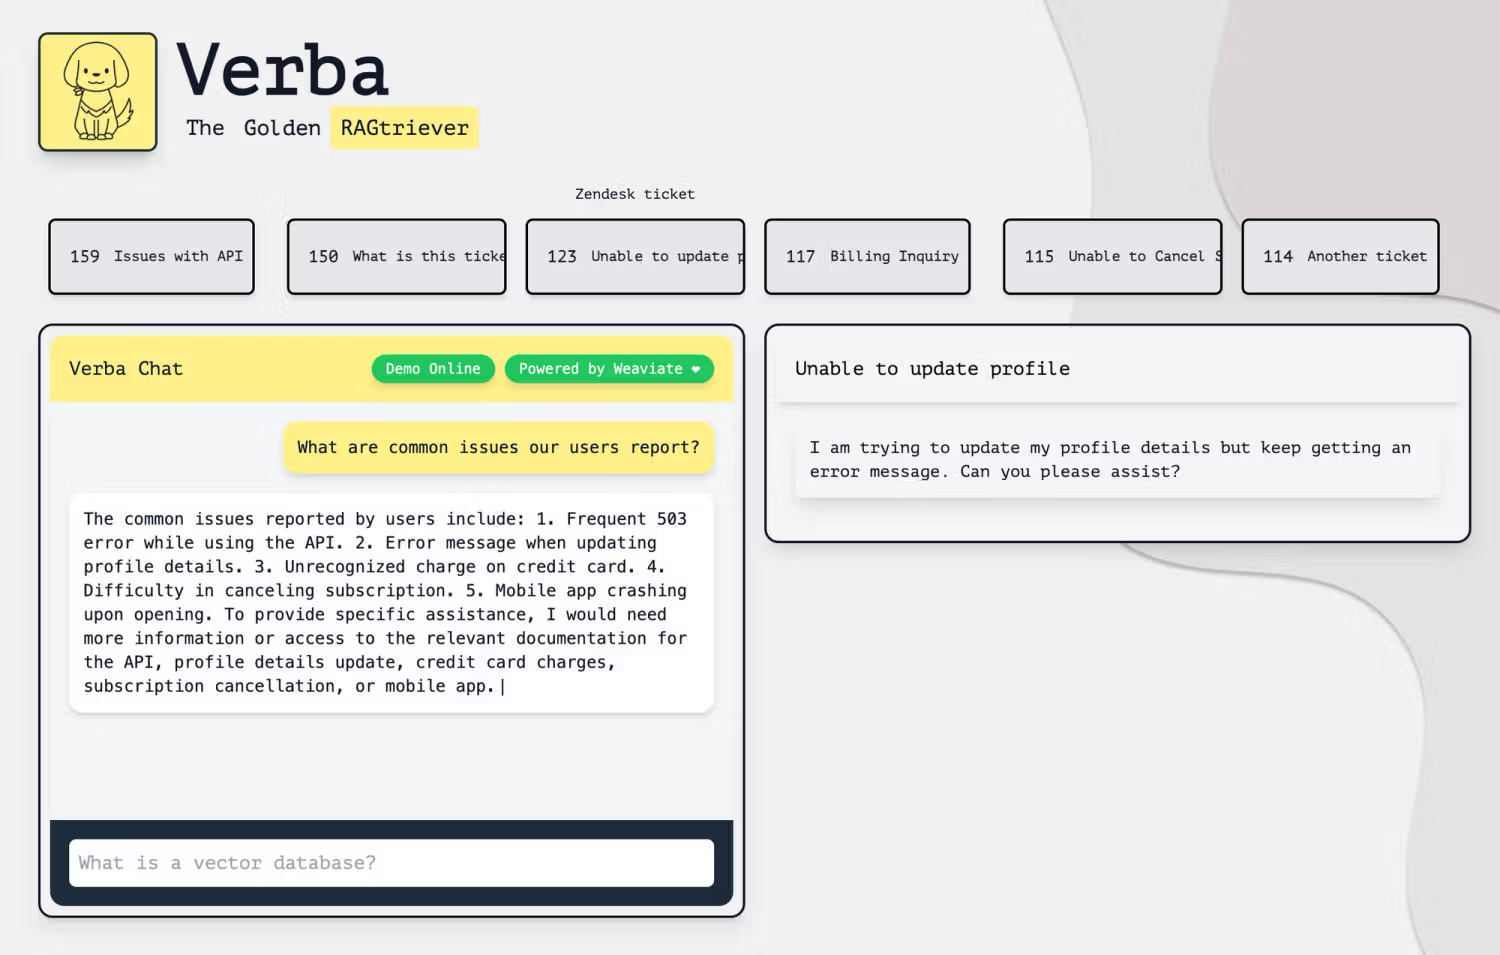
As you can see, Verba is able to retrieve relevant information from Zendesk Support and generate an answer to our question. It also displays the list of relevant documents for the question. You can click on them to see the full text.
Conclusion
In this blog post, we've built a RAG application for Zendesk Support using Verba and dlt. We've learned:
- How easy it is to get started with Verba.
- How to build dlt pipeline with a ready-to-use data source.
- How to customize the pipeline so it matches the data model of Verba.
Where to go next?
- Ensure your data is up-to-date. With
dlt deployyou can deploy your pipeline to Google's Cloud Composer or GitHub Actions and run it on a schedule. - Build a Verba RAG for other data sources. Interested in building a RAG that queries other internal business knowledge than Zendesk? With dlt you can easily switch your data source. Other dlt verified sources of internal business knowledge include Asana, Hubspot, Jira, Notion, Slack and Salesforce. However, dlt isn’t just about ready-to-use data sources; many of our users choose to implement their own custom data sources.
- Learn more about how Weaviate works. Check out Zero to MVP course to learn more about Weaviate database and how to use it to build your own applications.
- Request more features. A careful reader might have noticed that we used both Document and Chunk classes in Verba for the same type of data. For simplicity's sake, we assumed that the ticket data is small enough to fit into a single chunk. However, if you if you're dealing with larger documents, you might consider splitting them into chunks. Should we add chunking support to dlt? Or perhaps you have other feature suggestions? If so, please consider opening a feature request in the dlt repo to discuss your ideas!
Let's stay in touch
If you have any questions or feedback, please reach out to us on the dltHub Slack.